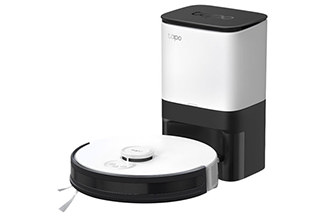
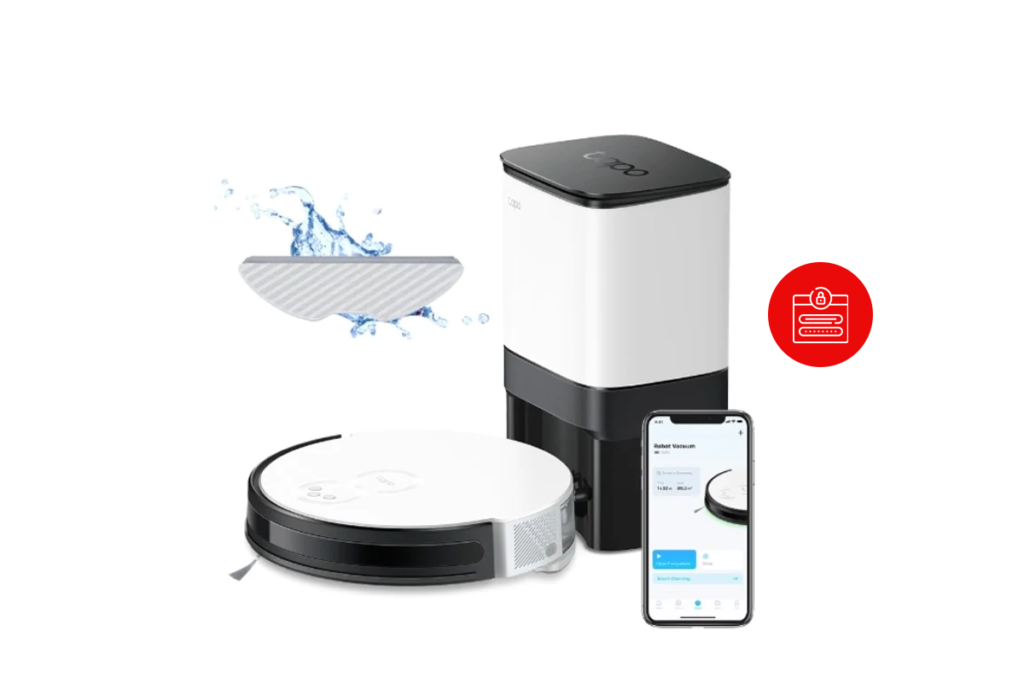
The TP-Link Tapo RV30 Plus robot vacuum and mop is the latest robot vacuum with brand-new capabilities. Before you start using this vacuum, you need to correctly set up the vacuum. Thus, you must know how to setup TP-Link Tapo RV30 Plus.
Once you know the proper procedure for the TP-Link Tapo RV30 Plus robot vacuum setup, you can ensure proper functionality. To set up the vacuum, you can use the Tapo app for a smooth configuration. After the setup, you can ensure proper cleaning of your house.
You need to know the complete system to set up the vacuum correctly. That’s why we are here with this post to help users with the TP-Link Tapo RV30 Plus mop. With the help of this blog, you can simply set it up and ensure optimal functionality. We will also discuss the issues you can face along with the troubleshooting methods.
Requirements for the TP-Link Tapo RV30 Plus Robot Vacuum Setup
To set up the vacuum, there are some things you must have. With these things, you can set up the vacuum simply. You require the following things:
The Tapo app
A Tapo account
The WiFi password
An active internet connection
Your smartphone or PC
These are the requirements you must have to set up the vacuum properly. Further, we will explain how to setup TP-Link Tapo RV30 plus.
Steps for the TP-Link Tapo RV30 Plus Robot Vacuum
Before the setup, you must charge the vacuum properly. Otherwise, you will have trouble setting up the vacuum. All you need to do is plug in the charging base and then place the vacuum on it. Once the vacuum has a sufficient charge, you can set it up correctly. The steps for the vacuum are as follows:
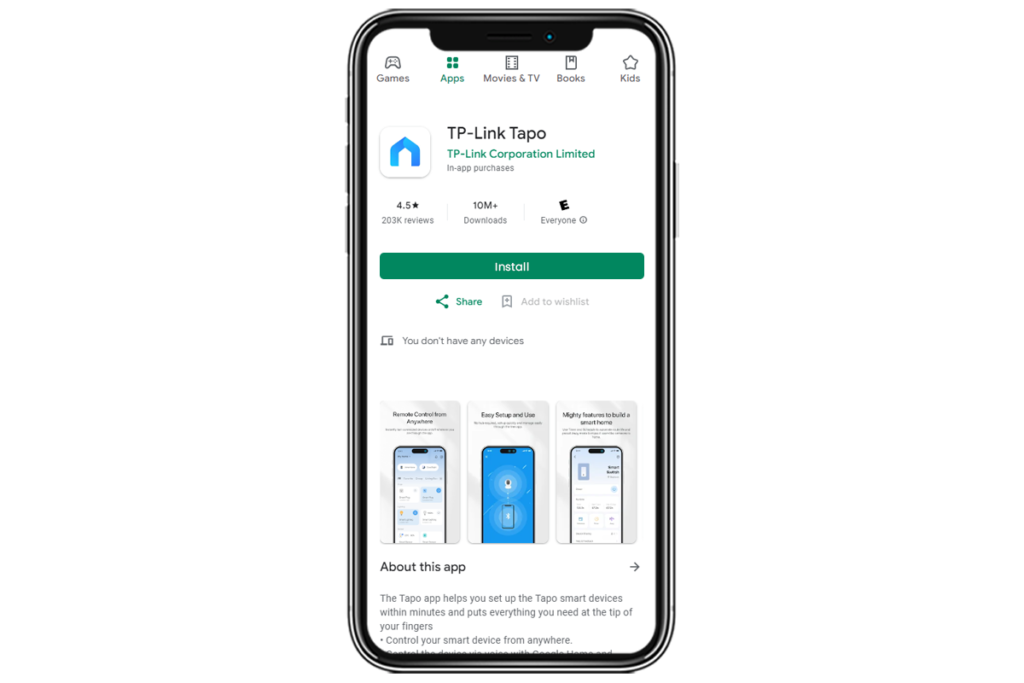
To begin with, install the Tapo app on your smartphone.
The app is available on both the Play Store and App Store.
Now, open the app and log into your account using the correct login details.
If you don’t have an account, you can create one from the app.
Hereon, add the Tapo vacuum in the app by clicking the + icon.
Select your model and ensure to add the correct model in the app.
You need to turn on the vacuum to connect it to your WiFi properly.
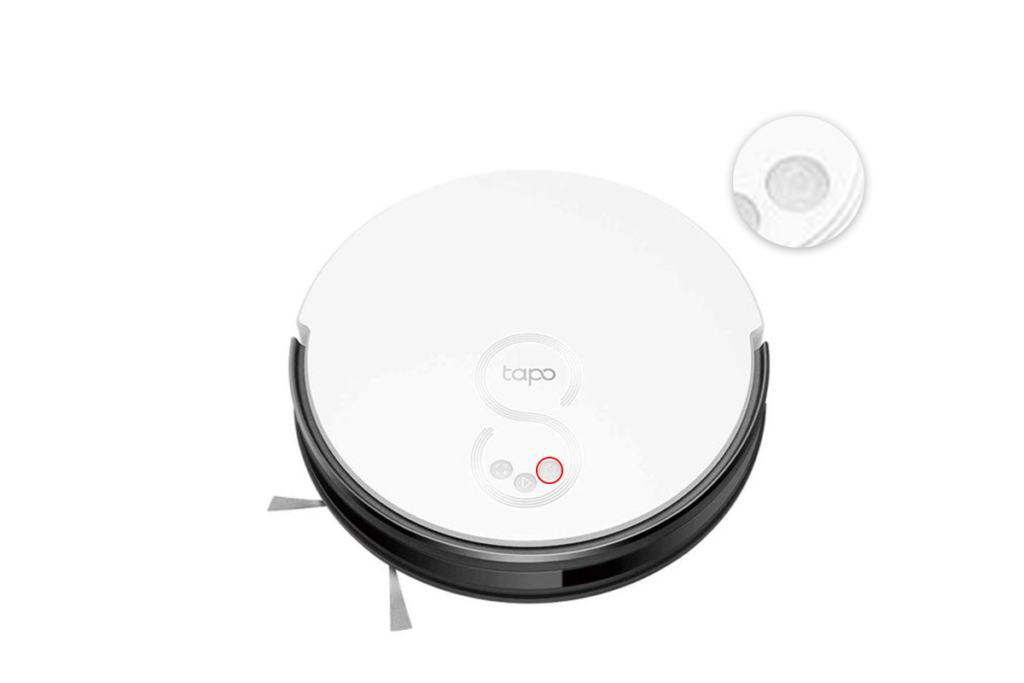
After that, press and hold the and buttons for 5 seconds.
Now, you need to connect your smartphone to the vacuum’s network.
Then, select your WiFi network and enter the password to form a connection.
At last, once the connection is successful, you can configure the settings.
We discussed how to setup TP-Link Tapo RV30 Plus robot vacuum in this section. Once the vacuum is properly set up, you can start using it. However, if you are having trouble setting it up, keep reading ahead.
How to Fix the TP-Link Tapo RV30 Plus Mop Setup Issues?
Whenever you face issues with setting up your vacuum, you must fix them. There are various methods you can use to resolve the setup problems. Some common troubleshooting techniques are as follows:
Charge the Vacuum
Before setting up the vacuum, you must charge it sufficiently. Without enough charge, you cannot connect the vacuum to the WiFi. All you need to do is place the vacuum on the charging base and power it on.
Fix the Login Issues
You can also have trouble logging into the vacuum’s user interface. Otherwise, you won’t be able to set it up properly. Ensure to use the correct login credentials to log into the interface successfully.
Inspect the WiFi Router
There could be issues within the WiFi router causing the connectivity issues. You must fix the router issues before connecting it to the vacuum. To troubleshoot the router, you can try power cycling it, updating its firmware, or resetting it.
Reset the Vacuum
If no other method is working, you must reset the vacuum. The reset will fix all glitches and bugs within the vacuum. To reset the vacuum, press and hold the Home and Square buttons on the vacuum. After 10 seconds, you can release the button and the reset will be complete.
These are some troubleshooting methods you can use to fix the TP-Link Tapo RV30 plus robot. Now you should be able to set up the Tapo vacuum properly. Once the setup is complete, you can start using it appropriately. If there’s anything else you require assistance with, you can connect with our team straight away.