The Reolink camera setup allows you to perform initial configuration of your new home security camera. If you want to learn how to setup Reolink camera, let us tell you that you are on the right page. This page will teach you about the configuration and installation of your device using the mobile application.
Reolink camera is one of the most reliable cameras available for customers from across the world. These home security cameras by Reolink offer some of the most innovative features and functionalities. To learn how to setup Reolink NVR, please read this post till the end.
How to prepare for Reolink camera setup
Here are some of the few steps that will help you prepare yourself for the setup and installation of your camera. Follow the instructions given below:
- Make sure the WiFi router is powered On.
- The dual-band network must be separately broadcast.
- The router should get uninterrupted power supply at all times.
- Unbox your camera.
- Fully charge your camera.
Now that you have gone through the preparation instructions, please follow the subsequent section for setup instructions.
Steps for the Rolink camera setup?
In this section, you will learn how to setup Reolink camera in a step-by-step format. Please follow the steps carefully in order to avoid any hassle:
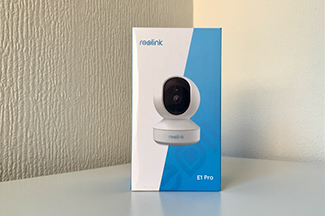
1. Unbox the camera
The contents of the Reolink Argus 3 Pro camera are first unboxed and examined. The following items should be included in the package:
- Rechargeable battery for the Reolink camera
- USB cord holder
- Thread the needle
- Quick-start guide
- Check that everything is there and in functioning condition.
2. Fully charge the Reolink camera
This is a critical step in the camera setup process. Before attaching the camera, the battery must be charged. To provide electricity, connect the USB cord to the camera and an electrical outlet or computer. It will take roughly 4 hours to completely charge the battery. Once the battery has finished charging, remove the USB cable from the camera.
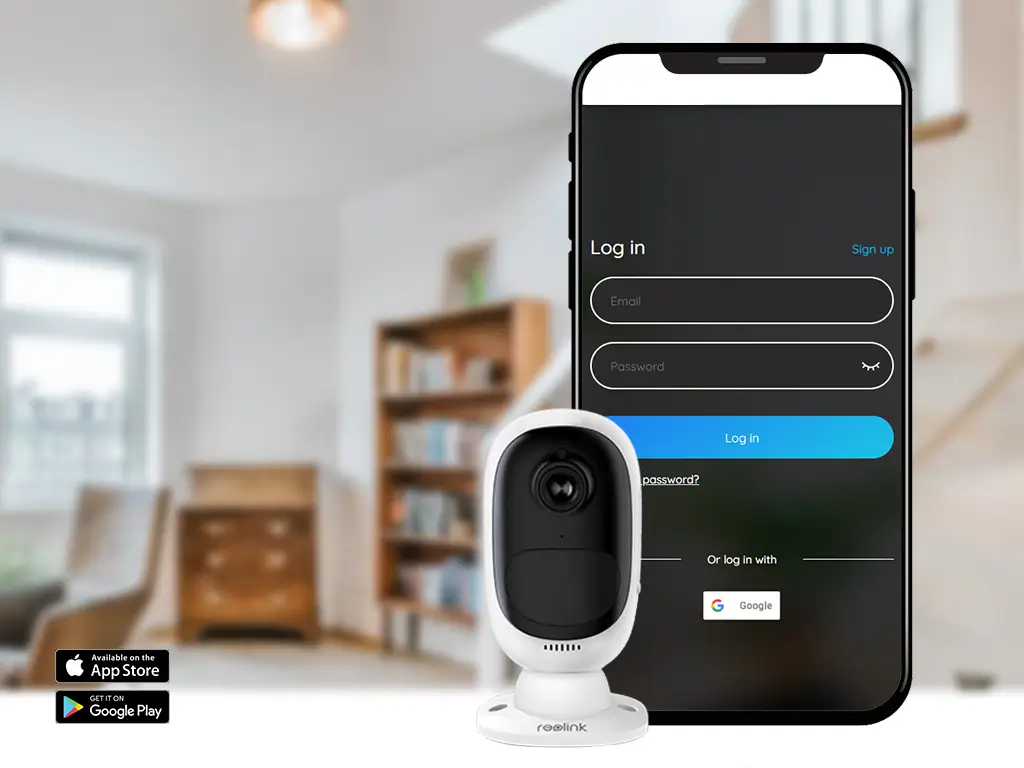
3. Download the app
To easily learn how to setup Reolink camera, you must download the Reolink mobile app. You can use your iOS or Android device to download and install the app from the App Store or Play Store.
4. Add your camera to the app
The Reolink camera app guides you through the setup and login process. Use the Reolink app if you don’t already have an account. Click the “+” sign in the top right corner to add a new device.
After selecting “Camera,” click “Add new device.” Follow the on-screen instructions to connect the camera to your Wi-Fi network. Check that the camera is inside the coverage region of your Wi-Fi network.
5. Mount the Reolink camera
To easily learn how to setup Reolink camera, you must download the Reolink mobile app. You can use your iOS or Android device to download and install the app from the App Store or Play Store.
6. Review the Reolink camera setup
This is an important part of learning how to setup Reolink camera. Launch the Reolink app and pick the camera icon to see the camera settings. A variety of settings are available here, including video quality, motion detection, and night vision. Set the parameters to your liking.
7. Test the camera
This is the last step of Reolink camera setup and installation. It’s time to put the camera through its paces after it’s been installed and its settings have been tweaked. Use the Reolink app and pick the camera icon to view the camera’s live stream.
Check the video quality and that the camera’s field of view includes the target region. Examine the camera’s night vision and motion detection features as well.
Finally, you will learn how to setup Reolink NVR camera without any hassle. If you face any issues with your device, feel free to talk to our support team.
Conclusion
This post was all about the Reolink camera setup, installation, configuration, testing, and mounting. We hope you learned everything using the Reolink mobile application. We suggest that you always follow the aforementioned instructions carefully in order to avoid any hassle.
If you experience any issues with your camera or have any doubts, please feel free to talk to our support team for more help.