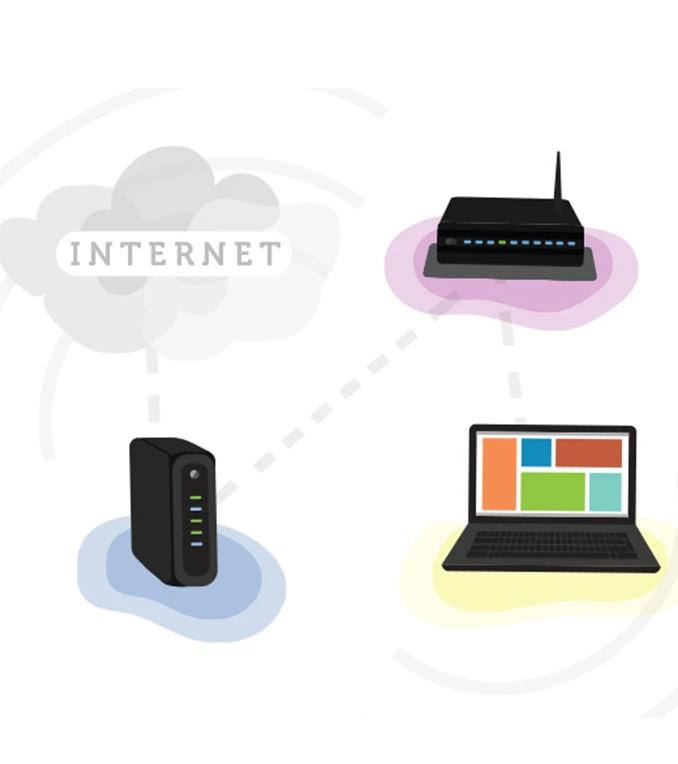
Networking devices like routers and range extenders have long been used to facilitate internet access in domestic and commercial spaces. While routers alone cannot cater to the increasing network coverage demand, range extenders come to the rescue and help meet the connectivity requirements. Among the most popular range extenders available in the market are Amped range extenders which can be set up using some easy steps. You have recently upgraded to one of the latest Amped range extender setup, this blog will walk you through the entire configuration process.
Things You’ll Need
To begin with the Amped extender setup process, you’ll need details pertaining to the main router network in addition to the extender’s own default credentials. You can find the Amped extender’s credentials mentioned on the product label pasted on the bottom of the device. For a quick reference though, you can refer to these details:
Default web address: http://setup.ampedwireless.com
IP address: http://192.168.0.1
Default Username: admin
Default Password: admin
Details related to your main router can be obtained by signing in to the router setup wizard.
Complete Amped Extender Login Process
Once you have the details related to Amped extender and main router, you can start by accessing the login page. In order to access the login page, you will first need to connect your computer and smartphone to the Amped extender’s local network. You can use a wired or a wireless network connection to do that.
Wired Connection
- Connect your Amped range extender to the power outlet and allow the device to boot up. Wait till the LEDs on the device turn solid.
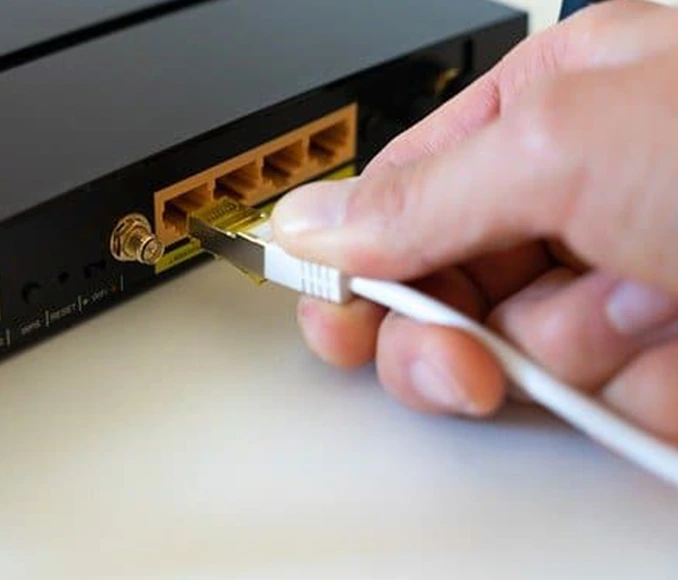
- Take an ethernet cable and connect one end of it to the ethernet port on your computer and the other end to the LAN port on your extender device.
Wireless Connection
- Connect your Amped range extender to the power outlet and allow the device to boot up. Wait till the LEDs on the device turn solid.
- Open the WiFi settings on your computer or smartphone and look for the available wireless networks in the list that appears. Select the name that corresponds to your main router network and click on the Connect button to proceed.
Accessing The Login Page
Once you have connected your computer or smartphone to the Amped extender network, you can use the default web address to access the login page. Here are some steps you can follow:
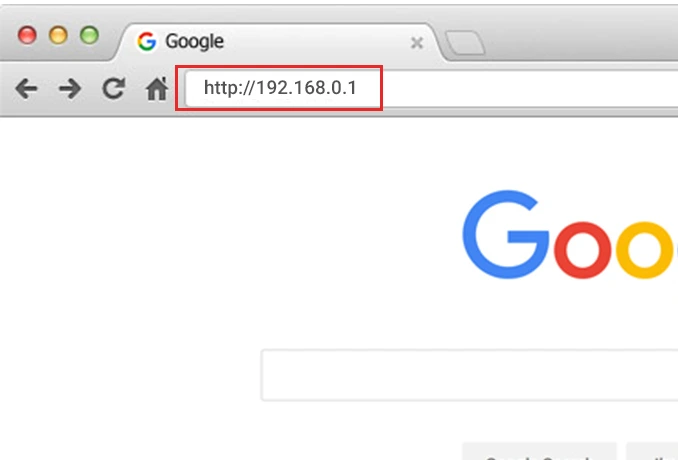
- Open a compatible web browser and in the address bar, type in the default web address http://setup.ampedwireless.com and press Enter.
- If the web address doesn’t help, you can also use the IP address 192.168.0.1 instead.
- The login page screen will appear with the username and password fields visible. Type in the default credentials in the fields specified and then click on the Login button.
The login wizard will validate the credentials and sign you into the Amped setup wizard.
Amped Wireless Setup Process
The Basic home page will appear as soon as you sign into the Amped setup wizard. The setup wizard will begin scanning the wireless networks available in the area and display a list of the same.
- Select the network name (SSID) that belongs to your main wireless router. When prompted, type in the network password and click on the Connect button.
- The range extender will now attempt connecting to the main router network. If you are connecting to a dual-band network, you will need to type in the details for the 5GHz network band as well.
- The extended network settings page will now appear on the screen. Type in the SSID and password for the 2.4GHz network band of your extender device. Select an appropriate network encryption protocol and click on the Next button.
- Also, configure the settings for the 5GHz network band and click on the Next button.
- The setup wizard will now ask you to configure the admin settings. Specify an admin username and password for the device and click on the Next button.
- A summary of the network and device settings will now be displayed on the screen. Review the same and then click on the Save and Finish button.
The amped wireless setup process is now complete and you may proceed with connecting your devices to the newly configured network.
Need more help with Amped range extender setup process? Reach out to the team now!