EPSON printers are known worldwide for their excellent printing capabilities and features that they come loaded with. You can set them up at your home/office and get the maximum productivity out. If you have recently upgraded to a new EPSON printer model, learning the steps to configure the settings will go a long way in ensuring seamless printing. This blog will walk you through the steps to complete the EPSON printer setup process and get started with printing in no time.
Installing Your EPSON Printer
Unbox the contents that arrive in the box. Make sure you have all the required items before you start. Once done, follow the steps discussed-
- Connect the power cable to your EPSON printer setup and press the POWER button.
- Use the navigation keys on your Printer’s control panel to select your preferred language and press OK.
- Select the country/region of your residence and press OK.
- You can now select the Daylight Saving settings from the next prompt and press OK.
- Select the date format you would like to use and press OK again. Use the keypad on the printer to set the date and time. Once selected, press OK. Also, Select the time format and press OK again.
Install Ink Cartridges
- Lift open the scanner section of your EPSON printer setup and open the cartridge cover.
- Shake the ink cartridge before you unpack it. Remove the yellow protective taping while making sure not to leak them.
- Insert the cartridge in its respective slot by pressing it down till it clicks into place.
- Close the ink cartridge cover and press it down.
- Once installed, lower the scanner section and fix it in place.
- Now, press the OK button to initiate ink charging which shouldn’t take more than 2 minutes.
Loading Paper
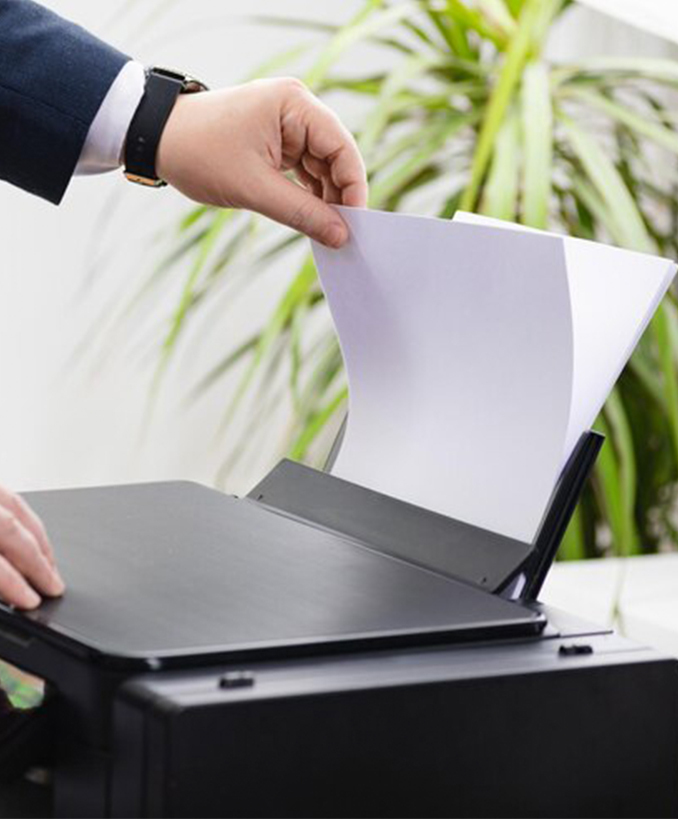
- You can load the paper onto your printer. Pull the paper tray and the extensions. Also, pull open the output tray and raise the stopper. If you intend to use a legal-size paper, do not raise the stopper.
- Squeeze the edge guide and slide it towards the left while loading paper to the right edge and behind the tab. Keep the printable side of the paper facing upwards.
- Slide the edge guide cover now and you are all set for printing.
Beginning with the setup
Before you start with the EPSON printer setup, you’ll need to connect it to a wireless network so you can access it from a computer later.
On Windows
- Power on your printer.
- Go to the official Epson website and download and install the latest version of EPSON Connect Printer Setup Utility.
- Once downloaded, install the setup and agree to the terms. Click on the Next
- From the next screen, click on the Install
- Select the EPSON model from the next screen and click on the Next button.
- Select Printer Registration from the next step and click on the Next button again.
- From the License Agreement and Privacy Statement page, click on the Agree radio button and then click Next.
- Again, click on the Ok button when you see the “Register a Printer to Epson Connect” statement.
- You can now create a new account or sign up using an existing EPSON account. Once done, click on the Close.
On macOS
- Power on your EPSON printer setup.
- Open a web browser and go to the official Epson website. Download and install the latest version of EPSON Connect Printer Setup Utility for macOS.
- Once downloaded, run the setup wizard.
- The setup wizard will show you the license agreement screen. Click on the Continue
- Again, click on the Continue button from teh following screen and then click Agree.
- From the next window that appears, click on the Install button and then click on the Close
- From the “Select a Printer” screen, select your EPSON printer model and click on the Next button. If you do not see a pop-up, you can install EPSON Printer using the following steps-
Open the Finder application and then go to Applications. Here, select EPSON Software and then select EPSON Connect Printer Setup.
- From the next registration window, choose the radio button next to the Printer Registration option and click on the Next button, and then OK.
- Scroll down on the Terms and Conditions page and click on the radio button next to the “I accept the terms and conditions” statement. Now, click on the Next
- You can now create a new account or sign in to an existing one.
- Finally, click on the Close
The EPSON printer is all set to begin printing your favorite documents.
Need more help with EPSON Printer Setup? Reach out to the team now!