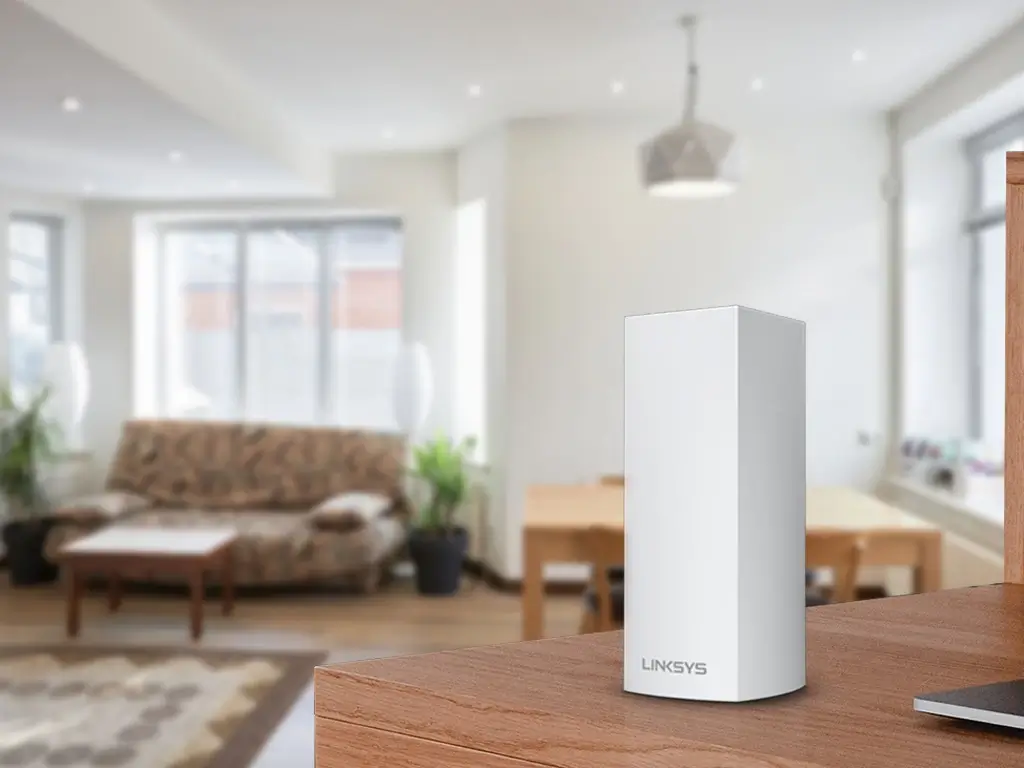
Networking systems like Linksys Velop Mesh WiFi routers have made our lives easier. By eliminating the need for an extra extender setup for network coverage, the Linksys Mesh WiFi system is indeed a great investment. If you have a Mesh WiFi system already at your home, you can add or remove child nodes to the parent router to expand the network even further. This blog will walk you through the easy steps to add child node for Linksys WiFi router.
Things You’ll Need For Linksys WiFi Router Setup
Before you add a child node to the Linksys wifi router, you’ll need to ensure that the child node has not been set up before. If it is an old node, you can reset the same. Secondly, make sure your parent node and child node are within 6ft distance of each other. This will ensure that they can connect to each other seamlessly. When you reset your node, make sure it boots up and you see a purple or blue light.
Connecting A Child Node For Linksys WiFi Router
Once you have met the conditions as stipulated, here are some steps you can follow:
- Connect your smartphone to the WiFi network.
- Now, launch the Linksys app on it and log in to the Linksys Cloud Account.
- Once you are logged in, tap on the Menu icon from the top left.
- Here, select the “Set up a new product” option from down below. Then, select “Add Another Node to XXXX”. The characters XXXX denote the name of your existing WiFi network that you wish to connect your node to.
- Now, select the “To extend my WiFi with a new Child node” option from the screen.
- Turn ON bluetooth if you are prompted to do so. Alternatively, you can also select the “I would rather set up without Bluetooth” option.
- You can now place your child nodes as shown on the app. Tap on the Next button to proceed.
Powering Up and Adding The Node
- Plug in your new node to a power outlet that’s in range of the parent one. Now, tap on the Next button.
- Your app will now detect the child node. This will take up to 3 minutes of time.
- Once you see the light on your child node blink in purple color, tap on Yes, it’s blinking purple from the screen. If the light doesn’t blink purple, tap on No, it’s not blinking purple option and follow the steps as they appear on the screen.
- Settings from the parent node will be applied to the child node that you are setting up. This can take up to 6 minutes.
- You can read the Terms and Conditions and finally, tap on the Agree button.
Relocating Your Node
- You will see a Just right message on the app screen once your node is placed correctly. Tap on the Next button to proceed.
- Select a name for your node and then tap on the Next button. You can name it according to its location at home. To change the name of your node, you can Name it something else.
- You have now added a child node successfully. Tap on the Next button.
If you wish to add an extra Child node to the setup, you can tap on “Add a Node” button. Or, if you are done setting up all your nodes, simply tap on “That’s it for now” button. Although, you can always add another node later by logging into the node’s dashboard and following the steps as discussed here.
To complete the setup, the child node will check for firmware updates. If a new update is available, the node will update it on its own. Finally, you’ll see the “Your WiFi is ready” message on the screen.
Need more help adding a child node to the Linksys Mesh WiFi system? Connect with us now!