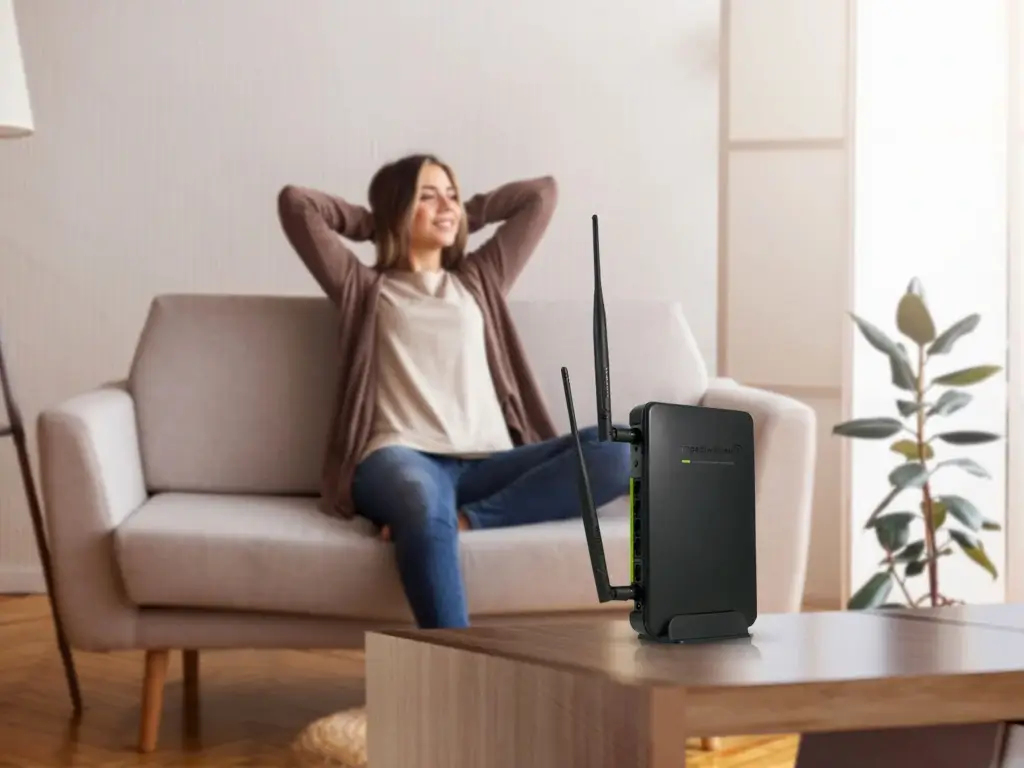
Amped extenders can help you extend the wireless coverage in your home to dead corners. If you are planning to get a new Amped extender for your home or office, learning ways you can configure the network settings and sync it to the home internet becomes important. This blog will walk you through the easy steps you can follow to setup Amped extender for your home internet in easy steps.
Things You’ll Need For Amped Extender Setup
Since you are about to set up a range extender, you’ll need details pertaining to the main wifi network. You can collect details on the WiFi name, and password of your main WiFi network. Also, the default settings for your Amped extender will also be required. These details can be obtained from the product label at the bottom of the device or from the product manual that comes with the device.
Preparing For Amped Extender Setup
- Attach to connect your Amped Wireless extender with your main router with the Ethernet cable. Also, join the extender to your computer with a different ethernet cable.
- Connect the extender to the power outlet. The device will be powered on and let those LEDs turn in a solid way.
- On your personal computer go to the wireless network section. You can then explore the various networks that are available until you can find the name of the network that is associated with that network.
- The SSID of the Amped Wireless Range Extender should be similar to AmpedXXXX, where XXXX is your model’s number. If you come across a similar model then click the connect button.
- A pop-up box will appear on the screen asking for confirmation whether you wish to continue with the router configuration or not. After it has appeared then click the “No simply connect” button.
Accessing The Amped Extender Login Page
Once you have connected your extender to the computer using a wired connection, you can access the extender’s login page. This will then guide you to the main setup wizard where you can edit the network settings easily. Here are some steps you can follow:
- Open a web browser on your computer, and in the address bar type http://setup.ampedwireless.com. If you encounter any issues getting to the address you could also try an IP address that is the default. It will be 192.168.1.240 or 192.168.3.1.
- You will be taken onto your Amped security page for wireless extenders. Enter your login credentials such as the username and password indicated on the label of the device. Then select Login.
Setup Amped Extender For Home Internet
- On the main page you can click on the primary dashboard icon on the left, and then click the Scan button to find every network around. After the device has finished scanning it will display a list of the available networks will be displayed at the top of the page.
- Then, from the menu, you can select the main router network. Then, a new screen will open asking for the router’s user ID as well as password. Enter the same information and then click next.
- Enter your Network ID or Security Key for the network that you’ve chosen. You can also click Clone Settings and use the same security code and that Network ID in the field that is displayed.
- Then, you might have to wait around two minutes before allowing the router to restart. As it reboots your computer will be disconnected, and you may require reconnecting to it.
- When the router is rebooted and is now ready for use it is possible to connect the devices you have connected to it and start using it. After you have connected, you need to click the radio button that is next after “Confirm” button, then close the browser window.
The Amped extender setup process is now complete and you can proceed with relocating your extender to your desired location.
Need more help with Amped Extender Setup? Reach out to the team at our end now!