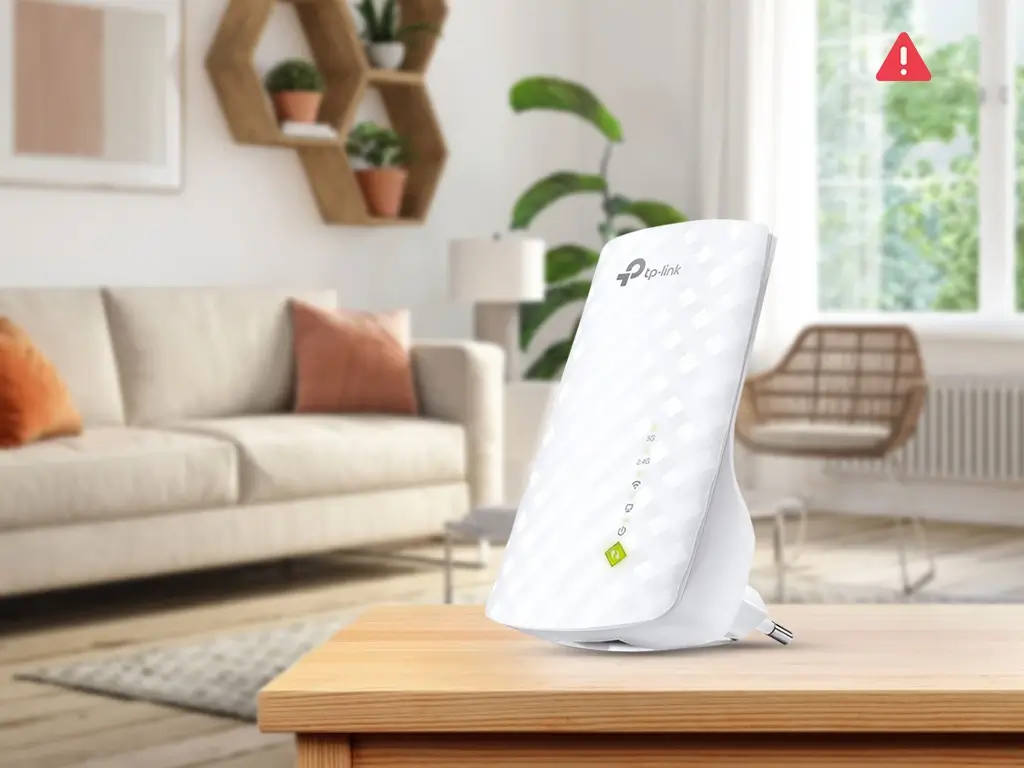
TP-Link RE200 range extender is among the fastest networking devices available. You can enjoy seamless internet access on devices connected to its network, thanks to the MU-MIMO technology that manages network connections effectively. However, the extender may fall prey to issues due to reasons beyond our control. If you are facing trouble connecting to TP-Link RE200, connecting to the internet can be a headache. This blog will walk you through the steps you can follow when you cannot connect to the TP-Link RE200.
Troubleshooting Connectivity Issues With TP-Link RE200
The first thing to do when you face connectivity issues is to restart the extender. You can unplug the extender from the power outlet and let it stay for about 2 minutes. After this, you can restart the extender and see if you are able to connect to the extender. If the issue still persists, you can follow these advanced troubleshooting methods.
Check The Network Password
TP-Link RE200 extender uses strong network encryption protocols to secure its network. If you are trying to connect using a mistyped/ incorrect network password, you’ll be shown an error message. It is therefore important to type the password as per the case and order of the characters/ symbols/ and numbers specified. If you don’t remember your network password anymore, you can reset it by signing in to the setup wizard. Once updated, use the new password to connect to the TP-Link RE200 extender.
Check The Extender Configuration
The second step you can take to resolve connectivity issues is to check the extender configuration. Ensure that you don’t have the MAC Filter turned on. Enabling it can hinder connections to the extender network in a way that only permitted devices are allowed to connect to it. If a device isn’t added to the allowed devices list, it will face connectivity issues. Therefore, always check that the MAC Filter is disabled or the devices you want to connect to the network are already added to the list.
Flush DNS Cache
If following the above steps doesn’t help resolve the issue, you’ll need to flush the DNS Cache. Here are some steps you can follow to proceed:
- Disconnect your wireless/wired client devices from the extender network and try reconnecting to the same. Wait for some time so the client devices can renew their IP.
- If you are on Windows, go to Start and select All Programs. Here, click on Accessories and select Command Prompt.
- Once the command prompt app opens, type the command ipconfig/flushdns in the work area and press Enter. Allow some time for the flush operation to complete.
- If you are using a mac, you can follow the respective steps to perform the DNS flush operation.
- For smartphones and tablets, the easiest way to reset the local DNS cache is power cycling them.
- Once the same is complete, you can try connecting to the TP-Link RE200 extender again.
RESET TP-Link RE200
If you still can’t connect to the TP-Link RE200 extender, you can reset it to factory settings. The steps to reset the TP-LINK RE200 extender are easy to follow and can be completed in no time.
- Locate the RESET button on your extender. Press and hold it for about 5-6 seconds or until you see the LEDs on the front flash altogether.
- Once that happens, release the RESET button and wait for the extender to restart.
The RESET process is now complete and you can proceed with the reconfiguration process again. Once the same is done, you can try reconnecting to the network.
Need more help with the TP-Link RE200 setup? Reach out to the team now!