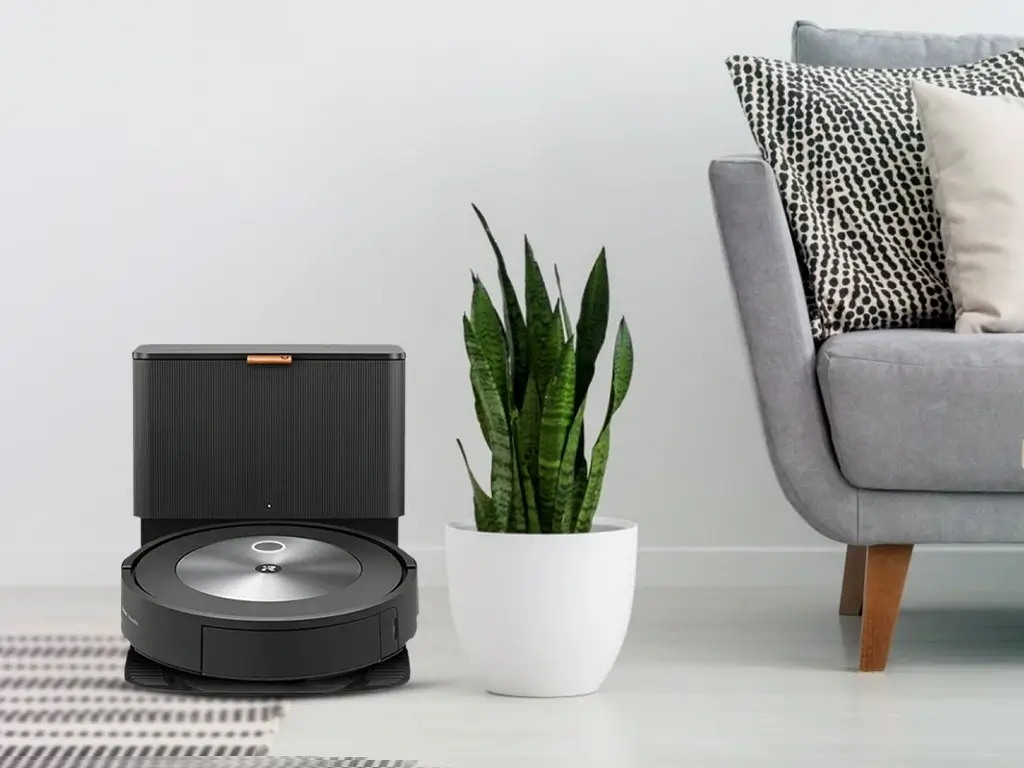
If you are planning to get a new iRobot Roomba for your home, learning about the ways you can set it up becomes important. Also, with the latest Genius 3.0 update now on air, investing in a Roomba is now more beneficial than ever. This blog will walk you through the steps to setup a new iRobot and update its software to the latest version in no time.
How To Setup iRobot Roomba?
The easiest way to get started with a Roomba robot is by downloading the iRobot Home app and following the instructions contained therein to complete the setup process. You can use Google Play or App Store to download and install the app on your smartphone.
iRobot Roomba Setup Using App
-
- Launch the iRobot Home app. Select the country, language, and the time-zone you are in.
-
- If you have an account with iRobot, sign in to the same using the registered credentials. If not, you can create an iRobot account.
-
- Once the account is ready, type in the default credentials into the login screen and hit Login.
- Connect your Roomba robot to the home wifi network. Ensure that your smartphone is also connected to the same network.
- Enable Bluetooth on your smartphone so Roomba can be connected to the app easily. When prompted to enable the same, tap on the Allow button.
- Allow the app to use your location. This will help Roomba detect devices that are nearby and connect to them easily.
Modifying iRobot Roomba Settings In The App
- Now, assign a name for your Roomba. Type in the name in the app and tap Continue.
- When a list of WiFi networks appears, select the network that belongs to your main router and enter the password to connect to it. If you have no security for your wifi network, check the radio button next to the Continue button.
- Roomba will now activate the internal network. This will allow the peripheral devices to locate it.
Now, ensure that the Roomba robot is placed on a leveled surface, and this location is within the good signal range of your robot.
- While the robot is placed there securely, press and hold the Home and Spot button together. Once you hear some sound or see a blinking green light on the WiFi LED, release the same.
- Confirm the response on the Roomba app and select the radio button next to “I Pressed the buttons”. Once done, tap on the Continue button again.
The iRobot Roomba robot has now been set up.
Software Update on iRobot Roomba
Once you have connected your Roomba robot to WiFi, it will automatically update its software to the latest version available. However, in some cases, it may take about 24 hours to receive a software update when you are first setting up the robot. The actual installation of software once downloaded and received should take about 10 minutes.
Over-the-air (OTA) software updates for your iRobot Roomba will take place only when the robot is not cleaning and is placed on the Home Base. To check the robot’s software, you can open the iRobot Home App and select More. You can now select Settings and then head to the About section. You will now see the software version for your iRobot Roomba.
Need more help with iRobot Roomba Setup? Connect with our team now!

